Manual for OpenEstate-ImmoTool
Installing ImmoTool
Install the application
Download the ImmoTool installation package for your operating system (see "Download the applications").
Installation on Windows
On Windows systems you should download the EXE installation file. On a 64bit Windows system you should use the corresponding 64bit installer.
Start the downloaded EXE installer with a double click. Afterwards an installation program shows up, that will guide you through the installation process.
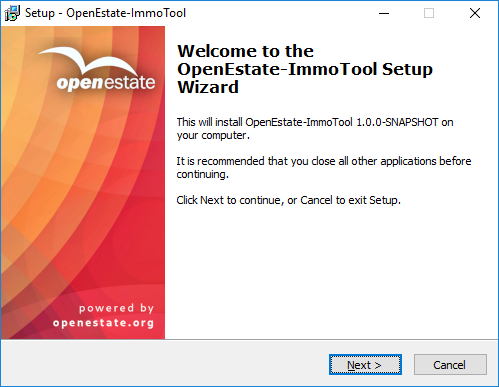
Installing ImmoTool on Windows
Installation on macOS
On macOS systems you should download the DMG installation file. Start the downloaded file with a double click in order to show the following installation dialog:
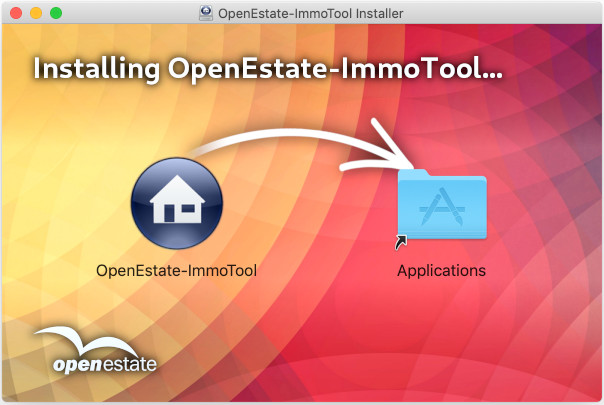
Installing ImmoTool on macOS
Click with your mouse on the application symbol of "OpenEstate-ImmoTool" and drag it into the "Applications" folder. This will copy the application into your Applications folder. In future you can find the application in your Finder by opening the Applications folder.
Alternatively you can drop the application symbol somewhere else - e.g. on your desktop or any other location on your hard drive.
Installation on Debian, Ubuntu or similar
For Debian based Linux distributions (e.g. Debian, Ubuntu or Linux Mint) there are different Debian packages it is recommended to use the Debian repository (see "Obtain packages from the Debian repository"). After the repository was registered in the operating system you may install the Debian package with the following commands:
Update the package index via:
sudo apt updateInstall ImmoTool:
sudo apt install openestate-immotool
In case you do not like or want to use the repository, you may alternatively download the Debian package (resp. the DEB installation file). Install the package with a double click or via the following command:
sudo dpkg -i openestate-immotool_x.y.z_amd64.deb
(Replace x.y.z with the version number of the downloaded file.)
Notice
The Debian package installs the application into the/opt/OpenEstate-ImmoTool directory.Notice
The Debian package automatically adds start menu entries of the application for each user in the operating system.Installation on Linux
If you do not use a Debian based Linux distribution or do not want to use the repository, you may alternatively download the TAR.GZ installation file. Make sure to select the correct installation file for your processor architecture (most commonly used is x86-64).
After the file was extracted on your computer you should find a directory called OpenEstate-ImmoTool. Move this directory to your preferred location on your hard drive (e.g. into the home directory or to /opt/OpenEstate-ImmoTool).
Tip
You may execute theStartMenuAdd.sh script within the bin folder of the application. This will create the start menu entries of the application for the current user.Starting ImmoTool
Start ImmoTool on Windows
The Windows installer will automatically create a desktop shortcut for the application. Alternatively you can find a folder called "OpenEstate-ImmoTool" in the start menu, that contains the shortcuts of the application.
Besides this you may start the application by executing the ImmoTool.exe (or ImmoTool.bat) file in the bin subfolder of the application directory.
Start ImmoTool on macOS
Open the application bundle called "OpenEstate-ImmoTool" with a double click. This will open a Finder window with the applications provided by ImmoTool.
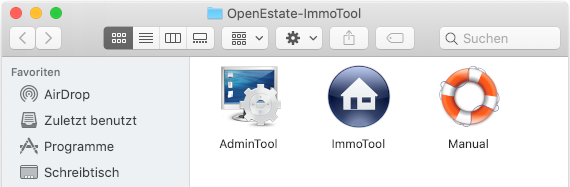
Finder window with ImmoTool applications
To-Do
Provide an English screenshot.A double click on the "ImmoTool" application will start the application.
Tip
You may integrate the "ImmoTool" application symbol into the Dock for future application starts (see documentation by Apple).Start ImmoTool on Linux
If ImmoTool was installed with the Debian package, you will find an entry called "OpenEstate-ImmoTool" in your start menu.
If ImmoTool was installed with the TAR.GZ package, you may have to start the StartMenuAdd.sh script in the bin subfolder of the application directory in order to create the start menu entry for ImmoTool.
Alternatively you may start the application by executing the ImmoTool.sh script in the bin subfolder of the application directory.
Language selection
If ImmoTool is started for the first time and the language of your operating system is not available in the application, you will have to select your preferred language.
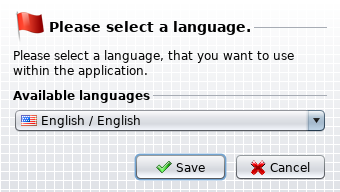
Language selection on first application start
This window provide a selection of languages, that the application was translated into.
Notice
ImmoTool may be translated into every language. If you like to help us out with a translation (z.B. new language or fixes in current translations), you can find further information on the OpenEstate website.Create local project
If ImmoTool is started for the first time, the project wizards shows up. You will have to create a local project, that provides the database for the application.
Notice
Within ImmoTool a project is a synonym for a database, that contains all gathered data (real estates, customers, attachments, etc.). In most cases you will only need one project, that has to be created once on the first application start. On later startups this project is opened automatically.Warning
In case you are planning to install a multi-user installation (see "Installing on a multiple workplaces"), please follow the advices in chapter "Installing ImmoTool-Server". In this case it is not necessary to create a local project.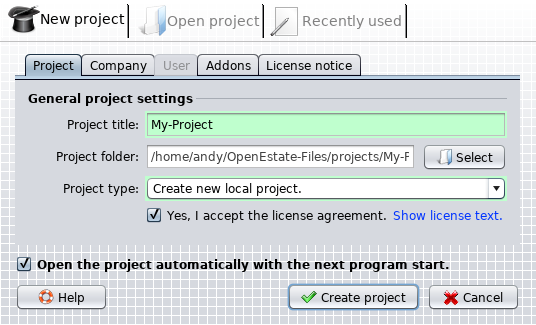
Create local project on first application start
Enter the following options into the project wizard in order to create a local project:
Project title:
Enter any desired name for the project.Projekt type:
Select the option "Create new local project.".You may open the tab "Company" and add some more information about your company.
You may open the tab "Addons" and enable / disable certain extensions in the project.
After the license agreement was accepted you can create the project by clicking on the button "Create project"". The newly created project is automatically opened afterwards.
From now on you can work with the application. We wish you a lot of fun and success!